


Making 100-year-old bread
#BreadIsLIfe

I have made a LOT of bread in my life—way before it became a “thing” during the pandemic. As a starving student back in 70’s it was a ‘hippie’ thing to do and my go-to was a honey whole wheat bread recipe that I made pretty much every week for a couple of years. Off and on after that I made bread for myself and later my family when I had the time and was in the mood—but never with a “bread maker”. The whole point (for me) was making that connection to 2000 years of human history by kneading dough with your hands and making a delicious loaf of bread.
Now, and during the pandemic I confess, I did play around with making my own sourdough starter, but it didn’t go well. So up til now I have stayed within the non-sourdough universe to make brioche and sweet rolls and potato buns and you name it, I have made it, even my mother-in-law’s Reindling (but an adaptation of her recipe not the one in the video, although it is close).
But just this past week, my wife’s friend from work offered her some of her 100-year-old plus sourdough starter, and my wife asked me if I was interested… Hell yes! (Thank you, Tina!) This sourdough starter has been used to make bread for over 100 years and originated in Germany. #Respect
But making sourdough bread is not like making “regular” bread, which can take a whole morning or afternoon. Making sourdough bread takes DAYS. Let’s say you want to bake a couple of sourdough loaves on Sunday morning. Well, on Wednesday you had better take the sourdough starter out of the fridge where it has been resting and “feed” it (flour and warm water). By the next day, it should have at least doubled. Feed it again! On Friday it should be looking good but feed it AGAIN on Friday night so that you can begin the serious bread-making process Saturday morning. When I did this with my 100-year-old starter it made enough to make this recipe and return about the original amount back to the jar. Amazing.
Saturday morning, get your autolyse on by mixing the flour you will be using with warm water, and giving it 30 minutes to properly hydrate. Then measure out and add your sourdough starter to the mix, “dimpling it in” says the recipe. “Say what?” says I. I had no idea what to do but this video helped.
The dough will take about 2.5 hours to get to the ‘bulk fermentation” stage. The dough has to be babied a bit because you want it to develop some structure on its own with just a little encouragement. In this way it is unlike a “usual” recipe where you bash the dough around in your stand mixer for 10-20 minutes until you get a nice ball of dough ready to rise.
The “bulk fermentation” stage takes as long as it takes but will likely be at least 3-4 hours. It is possible to leave it longer and the benefit of doing so is more flavour. As it turned out, for this first attempt my wife and I had to go out in the early afternoon and we didn’t get back until around 5:30. The dough was happily bulk fermenting on the counter while we were gone and when we got back was more than double in size and ready to form into a couple of loaves and begin the final rise before the oven. Again, in a non-sourdough recipe, this would be about an hour but the loaves went into the fridge for 15 hours.
After almost 15 hours in the fridge, the loaves had not risen as much as I had hoped, but I fired up the oven to 500 degrees with my pans in place. (I had been proofing my loaves in the baking pan but transferred them onto parchment paper and back into the fridge. The parchment paper is important to assist in transferring into a HOT baking pan—the parchment paper is used like a “sling”.)
A word about baking sourdough. The idea is to have steam in the oven when the bread cooks to help make a crispy crust. The first best option is a baker’s oven which nobody I know has. The second best option is to bake sourdough inside a Dutch oven, which I also don’t have (well, I have one for pot roast that isn’t the right size, and I would need two, anyway). The next best option, which I used, is a pair of 9x9 heavy-duty ceramic baking pans with a roasting pan as a “lid”. (This pic is after they are cooled.)
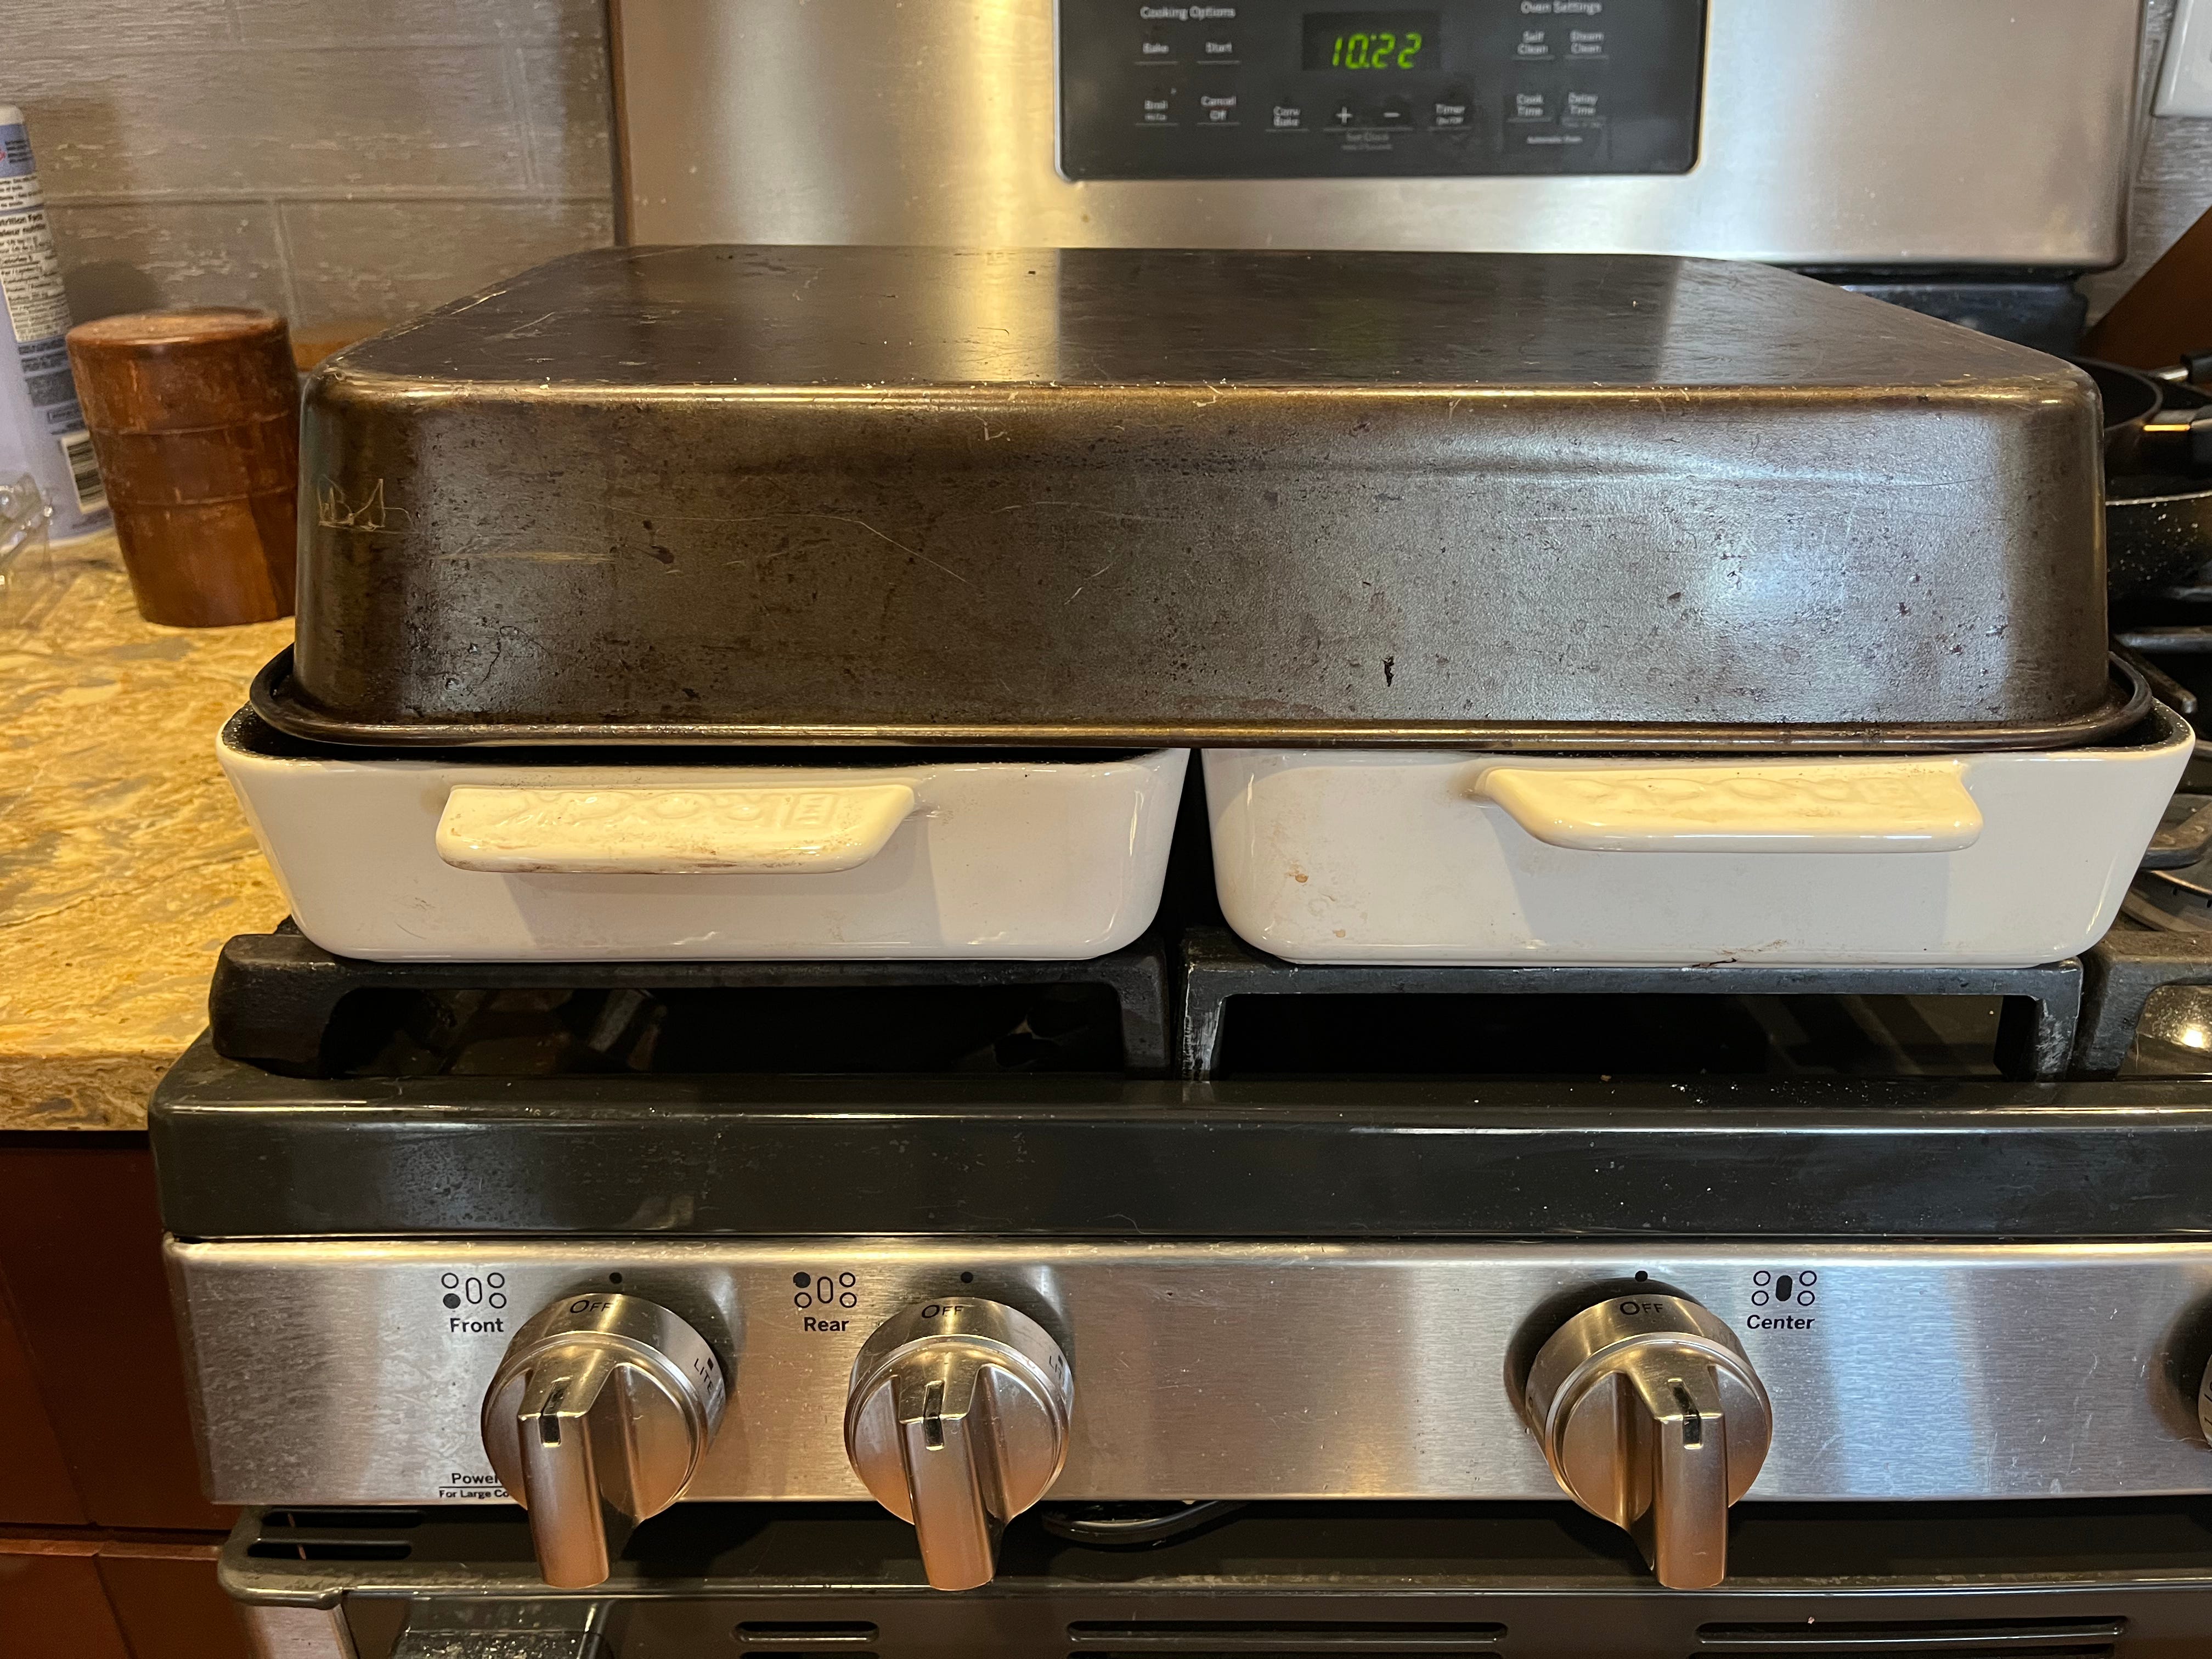
When the pans (and lid) had been at 500 degrees for about a half-hour, I took the bread out of the fridge, put some flour on the top and scored them, then sprinkled a bit of water on them and into the oven with the lid in place for 20 minutes, lid off for 22 at 475.
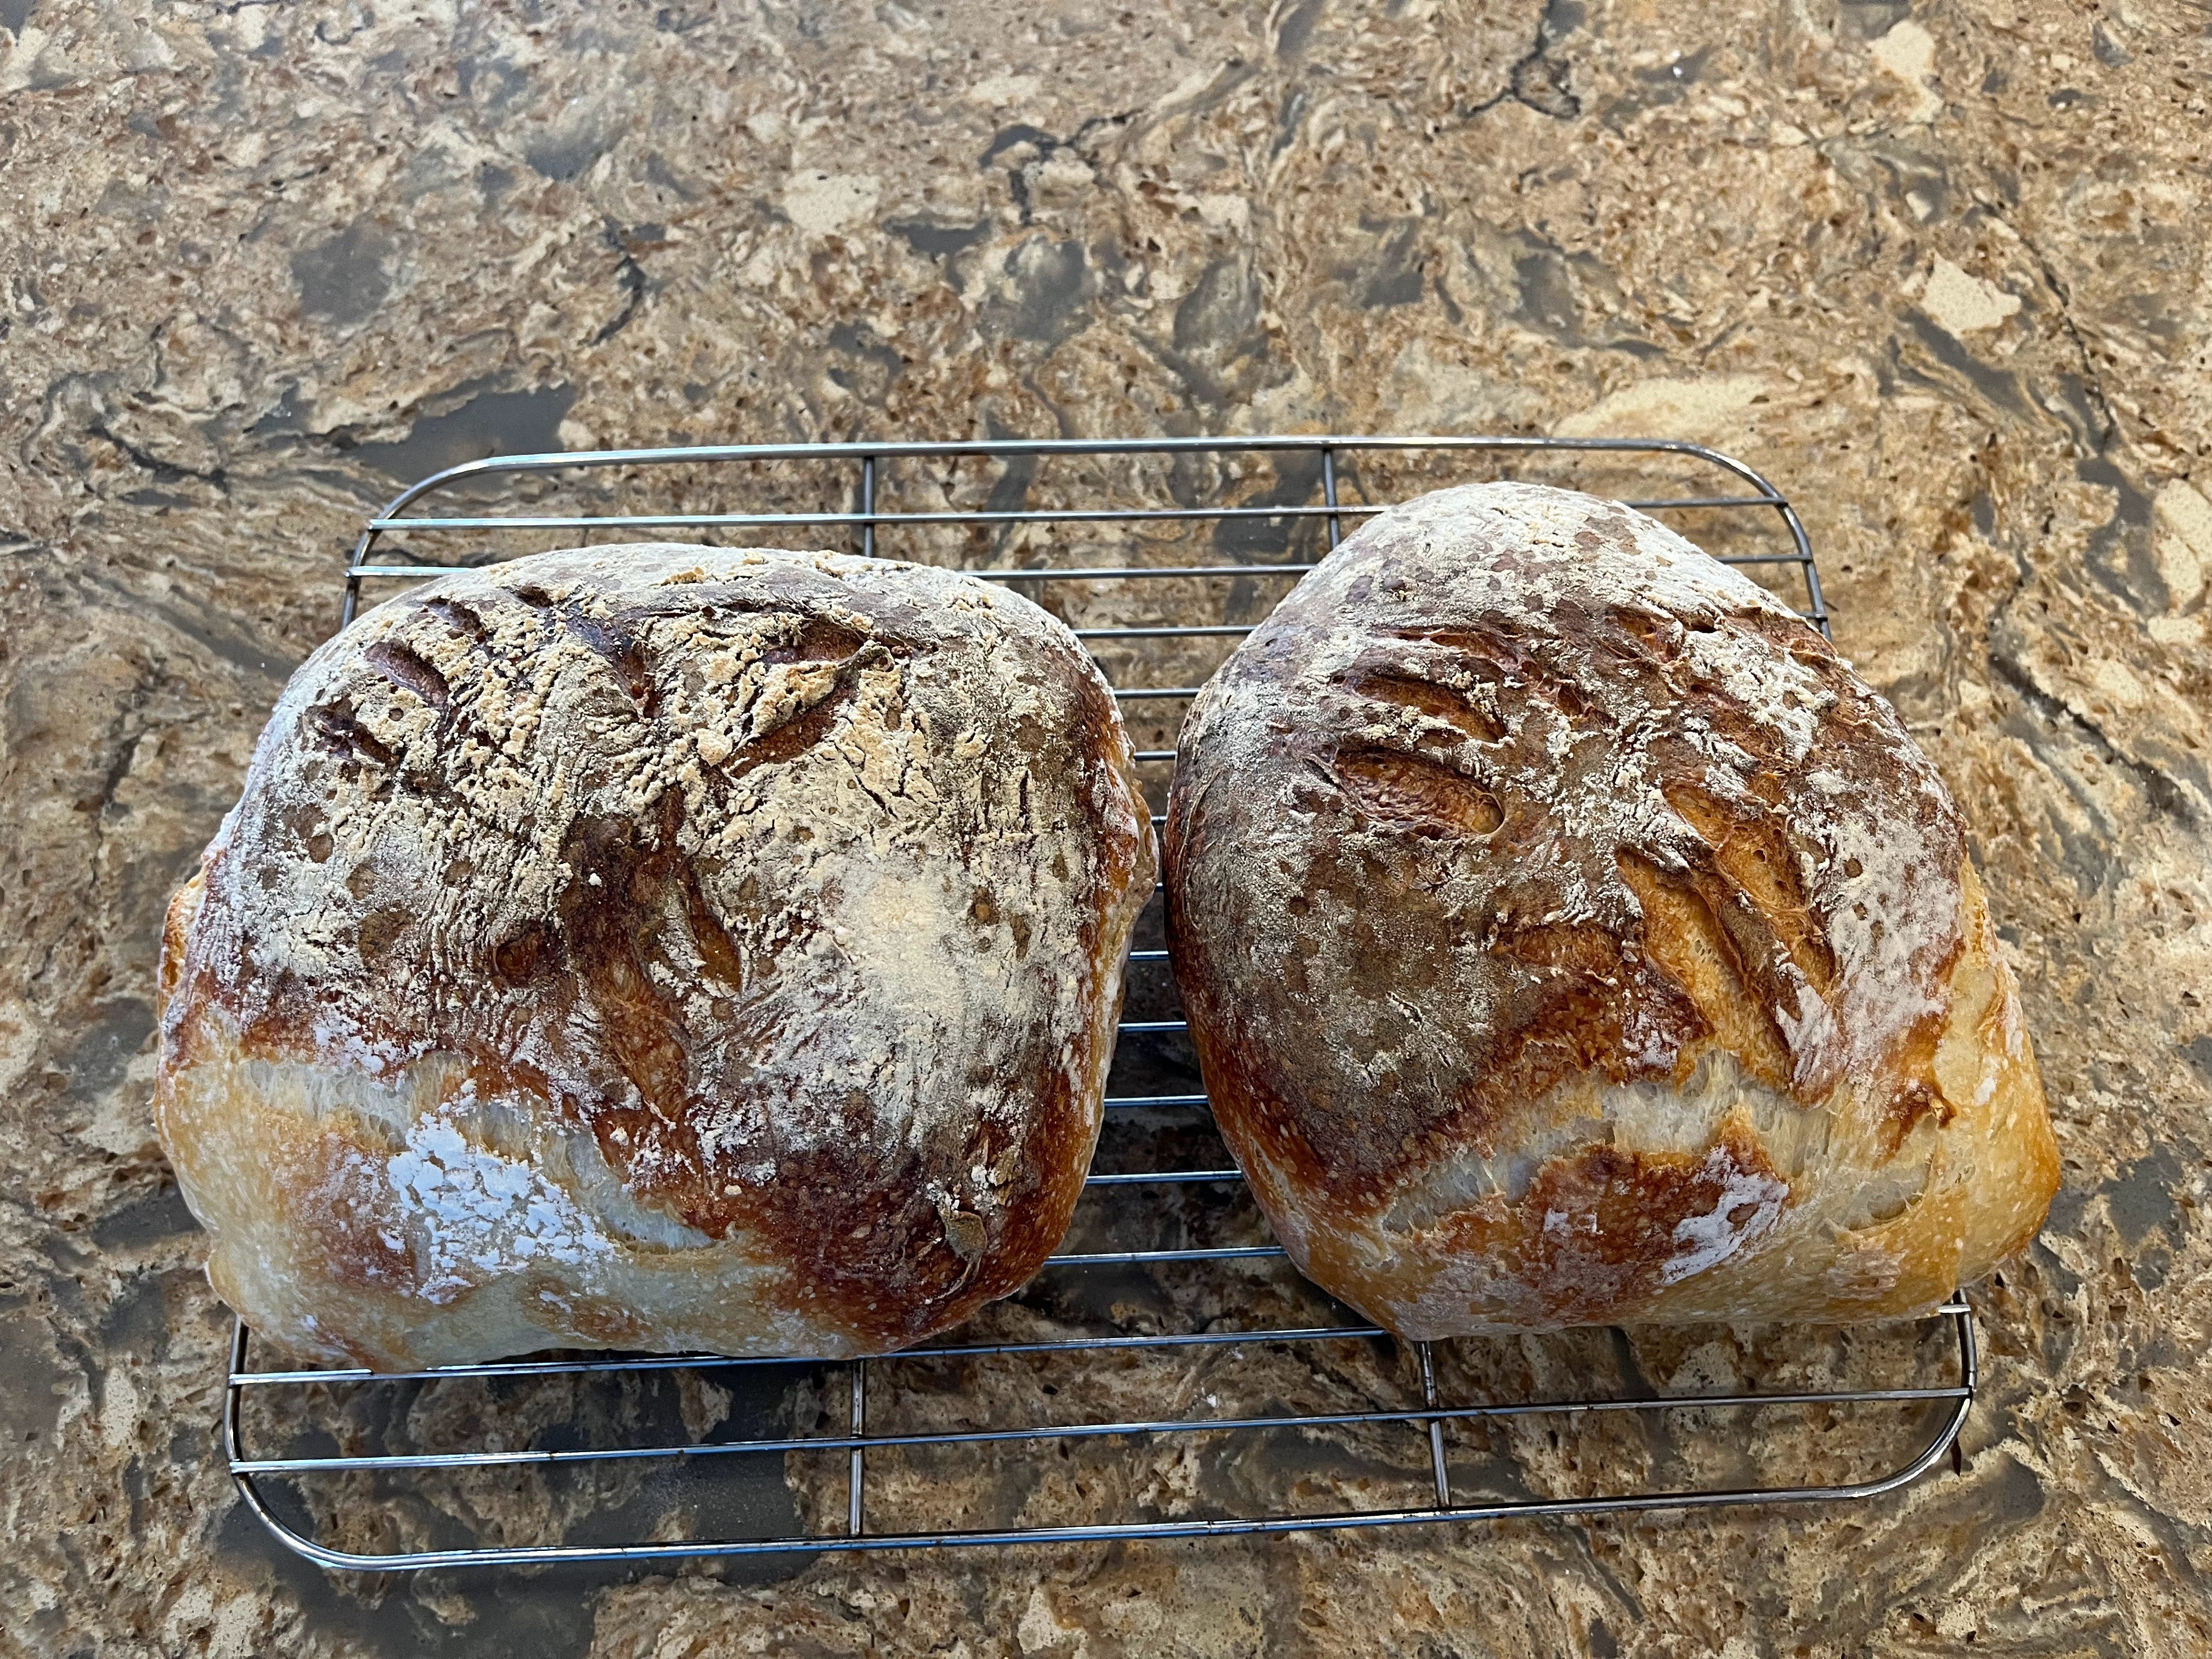
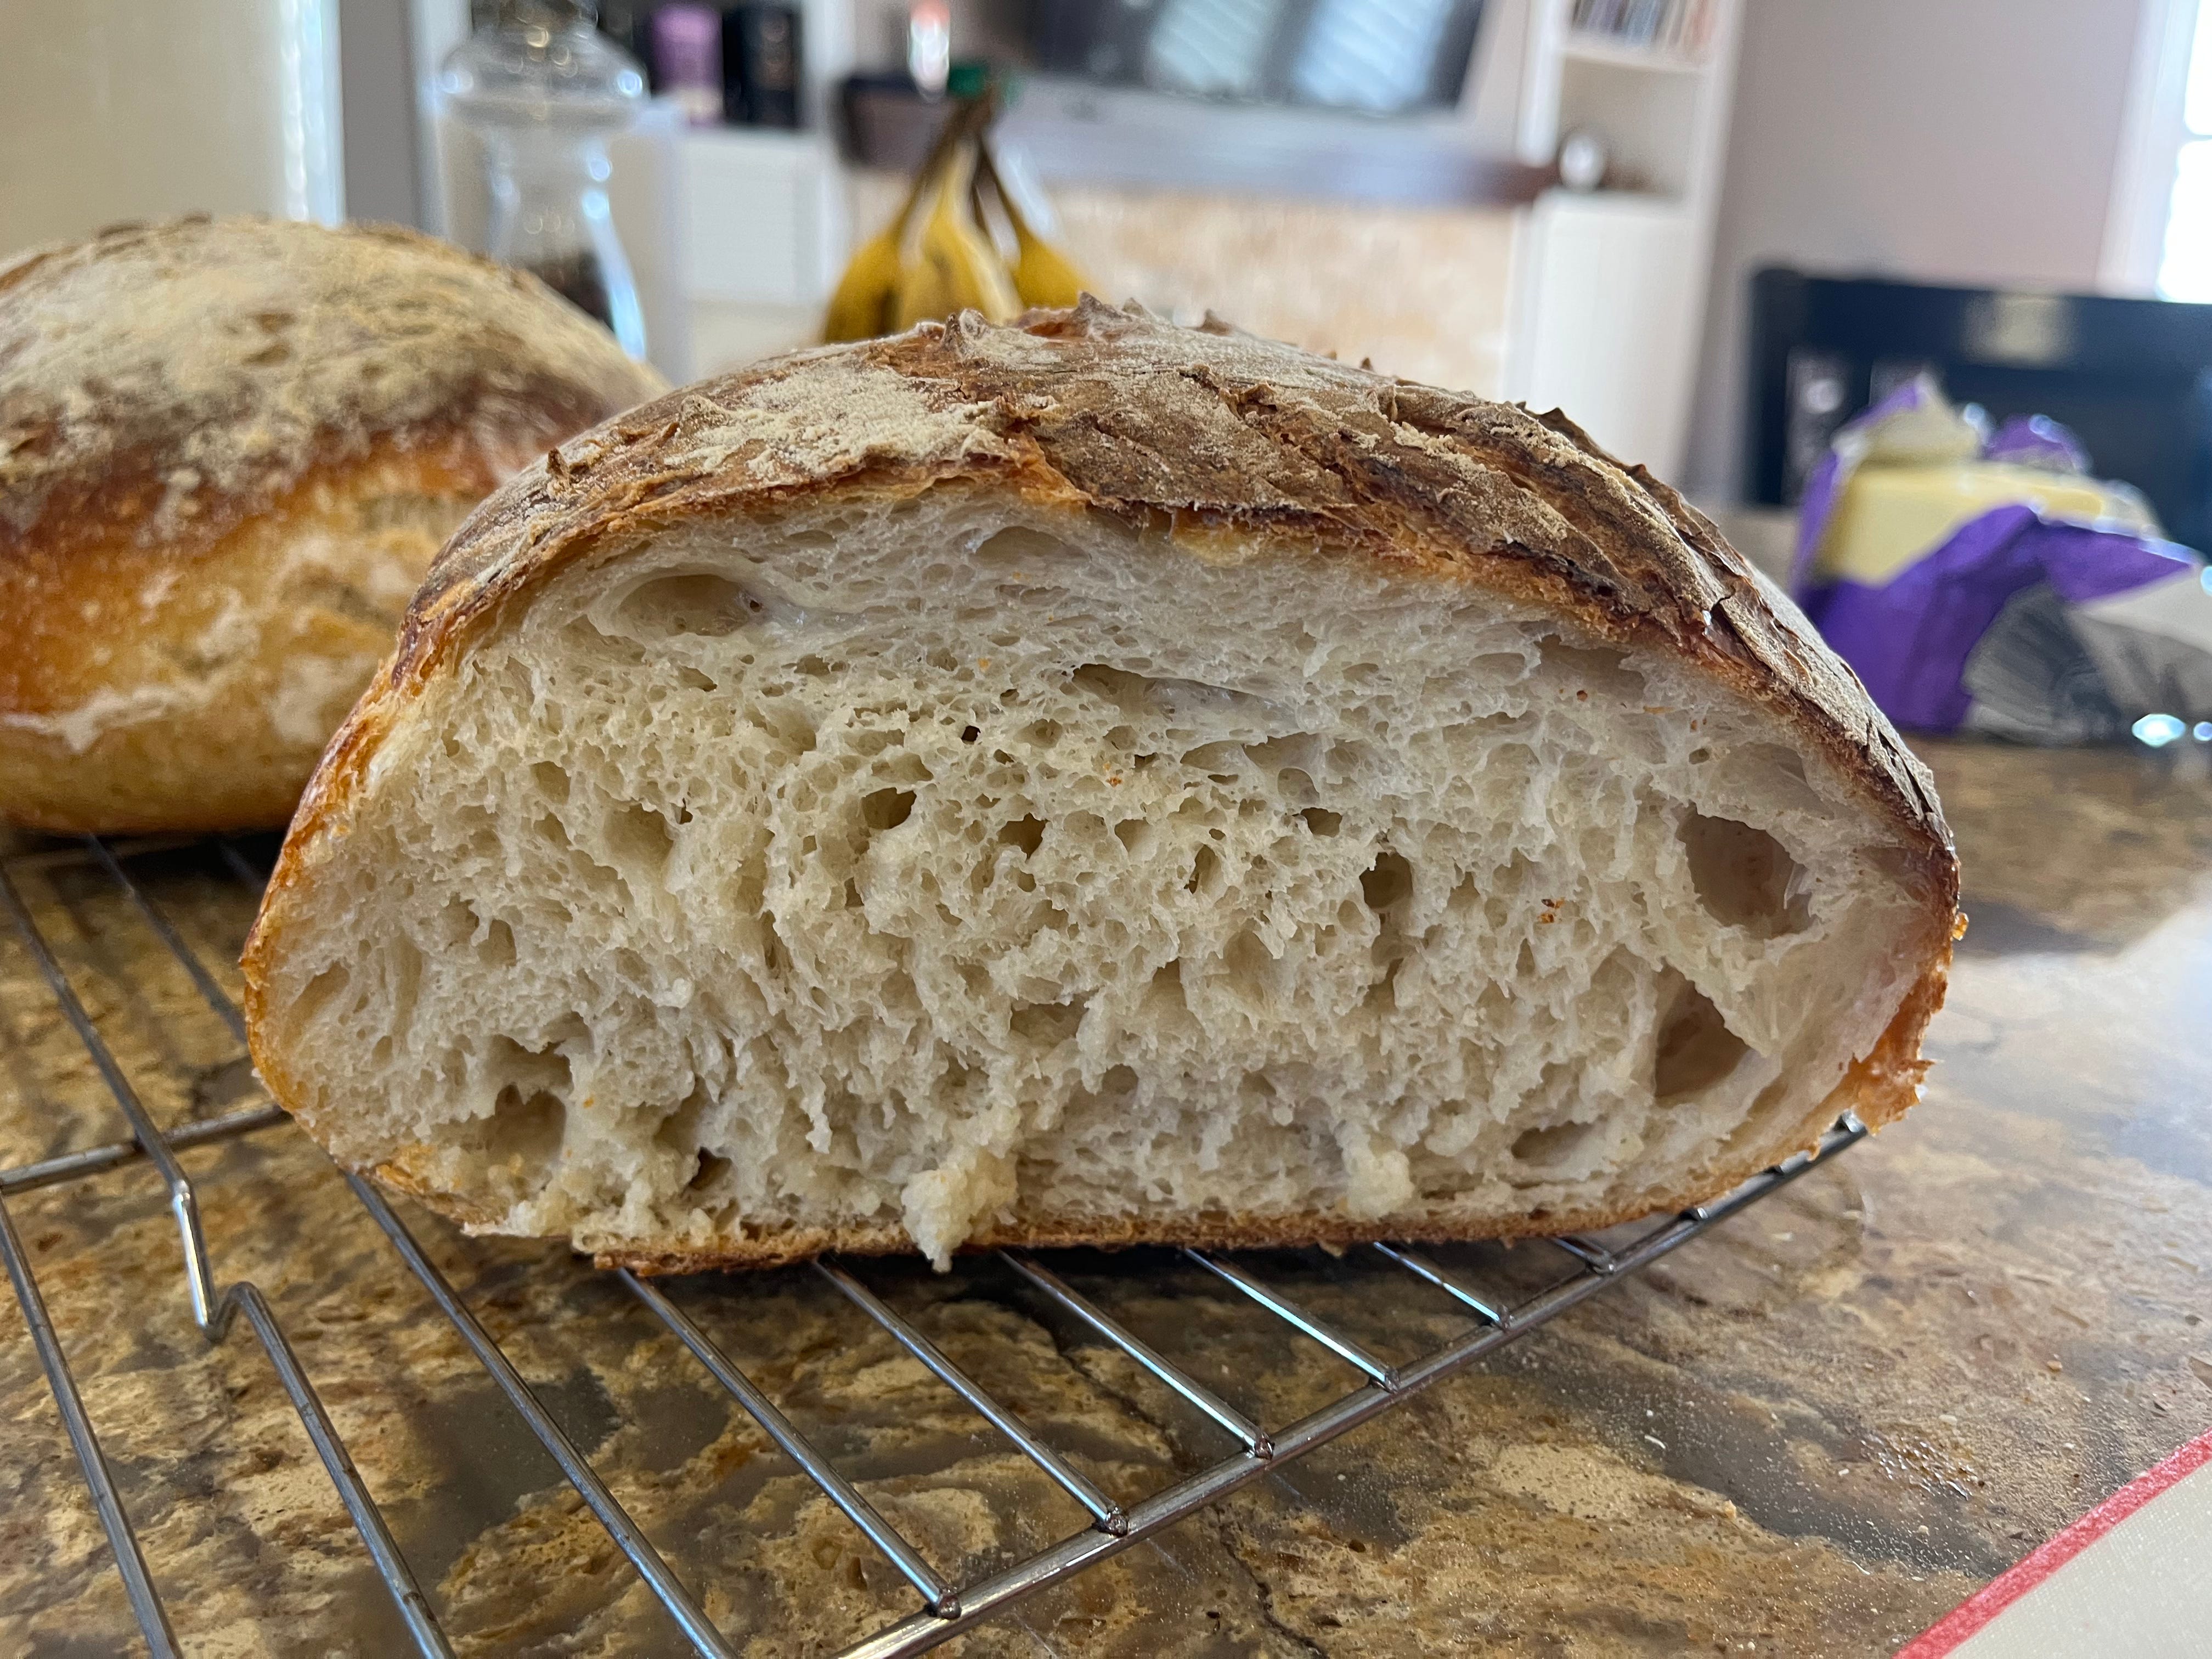
The result, which you can see, were two of the best loaves of bread I have ever turned out in terms of flavor! Beautiful sourdough-perfect crispy crust, soft and springing interior with that characteristic sourdough tang.
So—is it worth it to make “100-year-old bread” given the time it takes? ABSOLUTELY! This is a recipe I will now be making again, and again, and again! And I will be trying out all of the other fabulous things you can do with this starter.